Productos
Segunda mano
Servicios
Press Brake Die Seat: setup, tolerances and maintenance
Improve bend consistency by aligning, cleaning and inspecting the die seat before each run.
This guide details verification of flatness and parallelism, seating practices, and how to document tolerances for repeatable results.
- Less scrap and faster setups
- Safety and traceability
- Checklist for audits
Recommended reading
Review base tolerances and specs before adjusting tooling.
Estos productos podrian interesarte
Suppliers of Manufacturing and Grinding Dies for Sheet Metal Bending Machines
Verifica procesos, tolerancias y tiempos de entrega antes de ordenar.
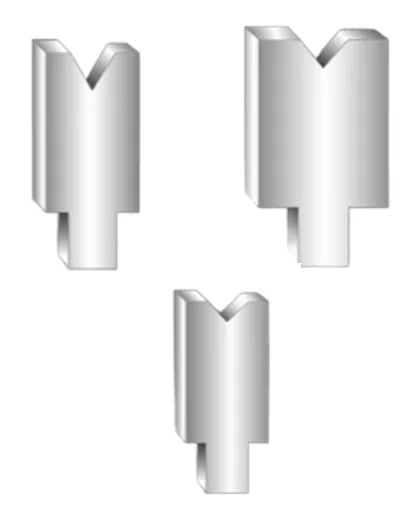
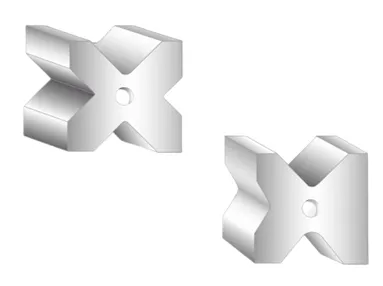
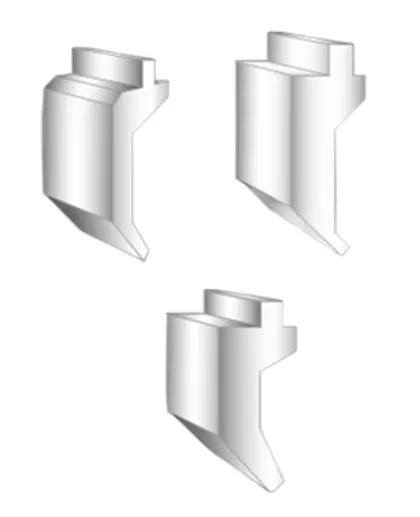
Die seat fundamentals and impact on bend quality
The die seat is the reference surface where the lower die rests. If it is not clean, flat and parallel to the ram travel, the bend angle will vary along the length, causing rework and tool wear.
| Variable | Risk if out-of-spec | Control |
|---|---|---|
| Seat flatness | High spots, angle drift | Scrape/light lap; verify with straightedge + feeler |
| Parallelism bed–ram | Different angles L–C–R | Indicator sweep; compensate with shims/crowning |
| Cleanliness | False readings, galling | Wipe, solvent, debris removal |
Record zero reference and adjustments for each material/lot.
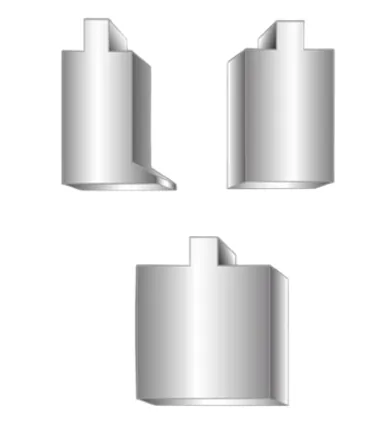
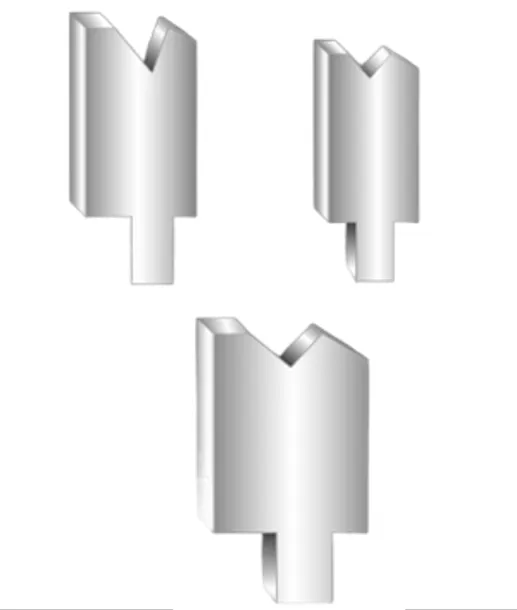
Seating and alignment procedure
- Clean the seat and tool contact surfaces.
- Place the die and snug clamps in a cross pattern.
- Sweep with a dial indicator along the length; aim for ≤ 0.05–0.10 mm variation.
- Shim if needed; verify punch–V centering.
- Tighten to torque specifications and re-check.
Finish with a sample coupon and record L–C–R angles.
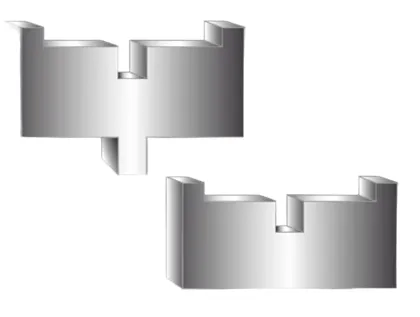
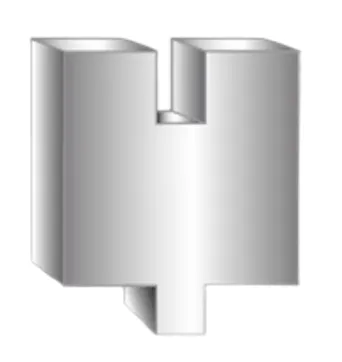
Recommended tolerances and how to verify
| Item | Typical tolerance | Verification |
|---|---|---|
| End-to-end level | ≤ 0.05–0.10 mm | Dial indicator sweep |
| Punch–V centering | ≤ 0.10 mm | Gauges/calipers |
| Angle variation (L–C–R) | ≤ ±0.5° | Protractor or angle meter |
Adjust crowning/compensation depending on thickness and strength.
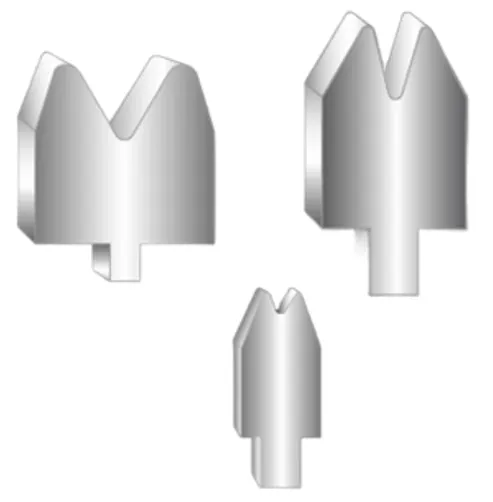
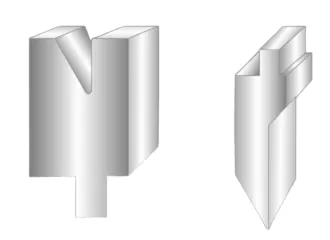
Preventive maintenance: frequencies and records
- Daily: quick cleaning and visual check
- Weekly: fastener torque and parallel check
- Monthly: full dimensional inspection
Minimum records
- Date, shift and responsible
- Tool ID and location
- Actions and findings
- Next intervention
Frequently Asked Questions (FAQ)

Estos productos podrian interesarte